


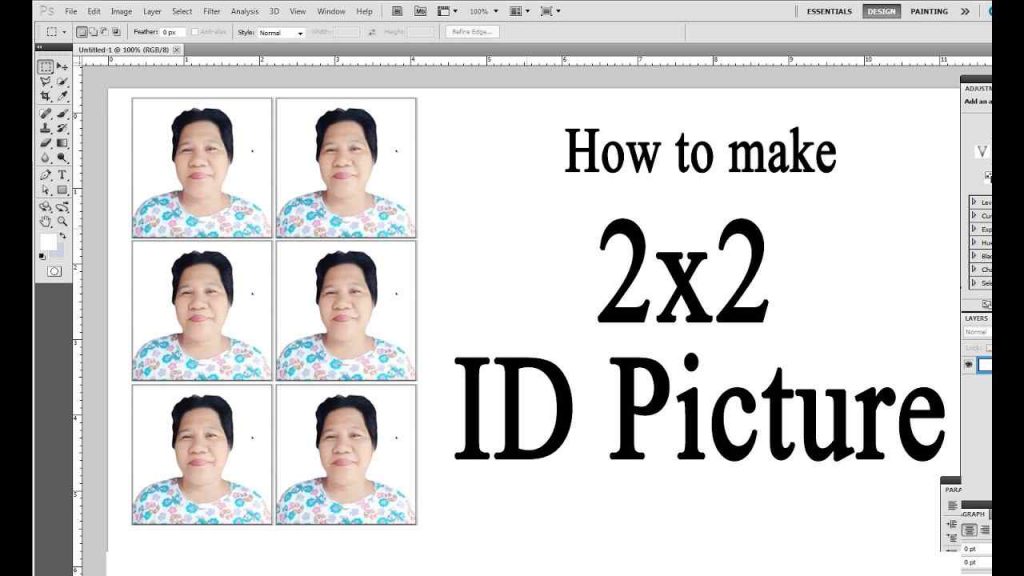
IN MICROSOFT WORD, DRAW A 2X2 PICTURE In this article, we will learn how to use Microsoft Word to create 22 pictures for use in important documents. Our official documents require a 2×2 photograph as one of the basic requirements for most of our official documents. Here are the step-by-step instructions on how to create your own 22 photographs.
First and foremost, you must choose a formal photograph that you wish to use. You should keep in mind that the photo must have a formal or presentable appearance in order to be used on an official document.
Select Copy from the context menu when you are finished with your photo. After that, open Microsoft Word and start from scratch with a new document. Then, right-click on the blank page and choose Paste from the context menu.
In Microsoft Word, the photo should be placed on the first blank page of the document.
Following that, simply left-click on the image, and a tab labeled “FORMAT” should appear at the top of your Microsoft Word program’s window.
After you click on the “Format” tab, a new set of options should appear on the screen.
You can change the width and height of the photo by dragging the portion of the image on the top right corner of the screen. However, there will be occasions when the photo will not be a perfect 22 photograph.
This is due to the fact that there is an option to keep the photo’s aspect ratio intact. To make a change, we must first select the “size” button from the drop-down menu.
A new window would appear as a result of this. There, you could adjust the photo’s width and height, as well as disable (uncheck) the option to “lock aspect ratio,” in order to obtain a picture that is exactly 2:2.
Finally, you would have your very own 22 photographs! All that is required to duplicate it is a simple copy and paste operation.
Alternatively, you could open Microsoft Word first and then create a 22 photo from there. Afterward, select “pictures” from the Insert menu by selecting it from the Insert tab. From there, simply look for the folder in which your photo was saved and follow the steps outlined above.
Read More: GLOBE GO120 Promo Details
After you click on the “Format” tab, a new set of options should appear on the screen. You can change the width and height of the photo by dragging the portion of the image on the top right corner of the screen. Simply edit it to make it 22 and you’ll have your own 22 pictures in no time.
How To Insert A Picture In Word?
- Place your attachment point where you want the image to appear.
- Select the Insert tab.
- Click the Picture command in the Illustrations group. The Insert Picture dialog box appears.
- Select the desired image file, then click Insert to add it to your document. Selecting an image file.
Read More: How Can I Use Course Hero For Free